Starting RAN Origin Mobile on a cloud phone? Choose a compatible Android setup, confirm your server and channel, then pick your school and class. This guide follows the screenshots from choosing a device to entering the map with your first character.
Quick start: Open your VSPhone device → install the Android client from the official entry point → sign in and choose a server and channel → Create → choose school, gender, and class → enter a name → Create character → Game Start.
Check compatibility before choosing a device
The recorded Basic setup with Android 13 on a Hong Kong node could run two instances, but controls were laggy. Android 10 and 11 had compatibility issues in earlier testing, so the tested Android 13 setup is the reference here. Basic being able to launch both instances does not make it a recommendation for smooth dual-instance play. This guide does not have enough matching evidence to recommend KVIP or SVIP upgrades.
Pricing and purchase options: View VSPhone plans and cloud devices
Check the tier, region, Android version, plan duration, and device quantity before reviewing the order total. Start by completing the setup with one character. If you need several cloud devices, calculate the cost for that quantity and check the final price at checkout.
How to start after purchasing
1. Sign in to VSPhone and open your purchased cloud device. Download and install the game inside that device.
2. Open the official RAN Origin download page below inside the cloud device. Follow its Android link to Google Play and check that the developer is Indraft Innovation before installing. After signing in, choose your server and channel, then select Create. The APKPure images retained below come from earlier setup material; APKPure is a third-party store, not the game’s official store.
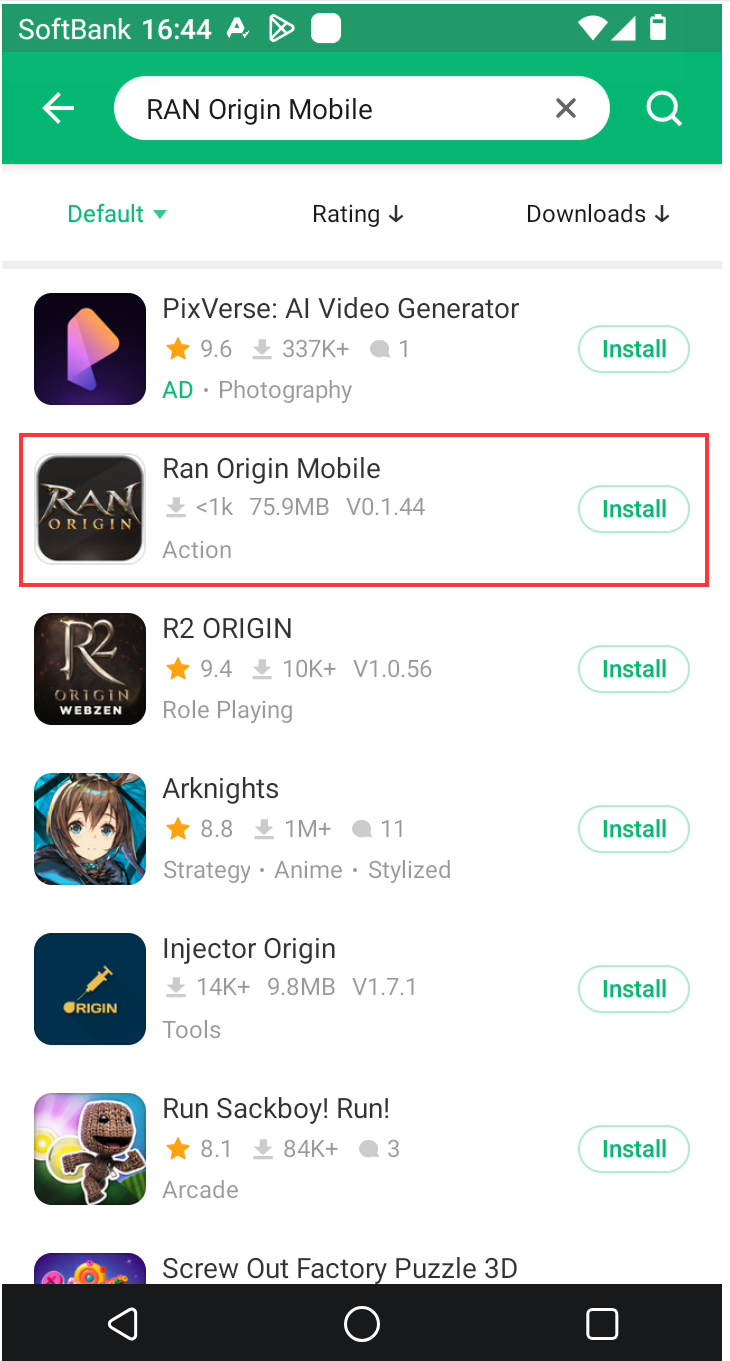
Game download: Official RAN Origin download page
This guide covers server selection and character creation in RAN Origin Mobile. Compare your school, class, and menu options with the screenshots. If they differ, check the client version and publisher first. Do not apply RAN Royal Academy Nations server details or feature rules to this game.
Playing with friends Check both the server and channel
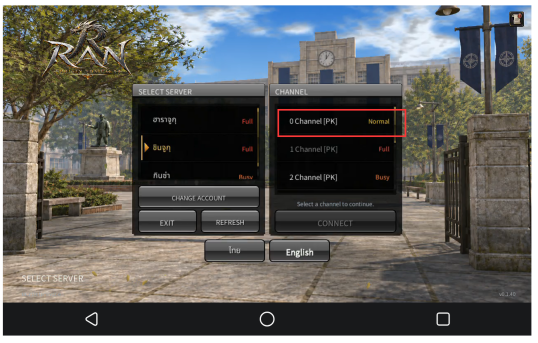
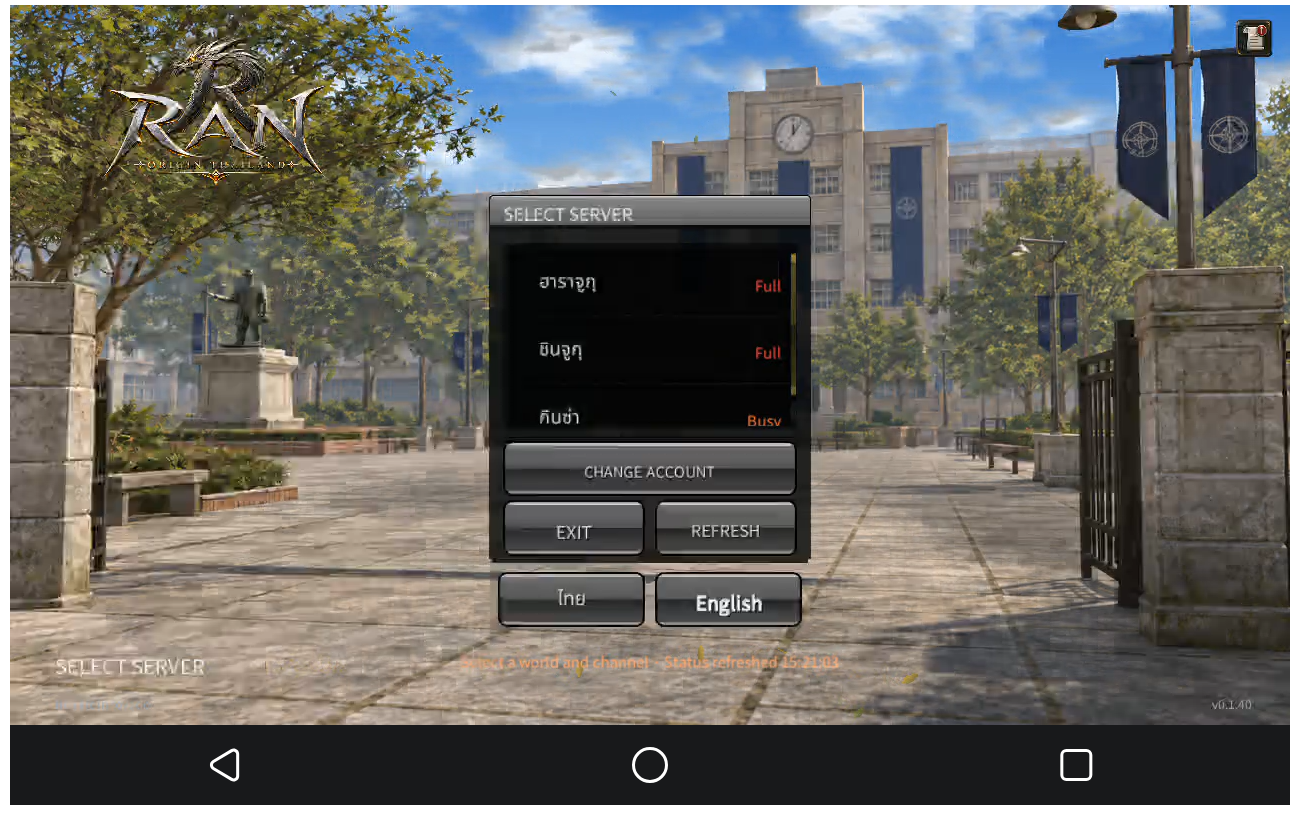
Choose a server from the list on the left, then select a channel on the right. Status labels include Normal and Full. If a channel is full, check another available channel. When arranging to play with friends, confirm both the server and channel, not just the game name.
 Choose a school and class then create your character
Select Create on the character selection screen. The school options include Sacred Gate, Mystic Peak, and Phoenix. Choose one and select the next-step button, labeled Continue in English; some screenshots use Thai. Choose a gender and class, then continue to appearance and naming. Agree on your choices with friends before starting together.
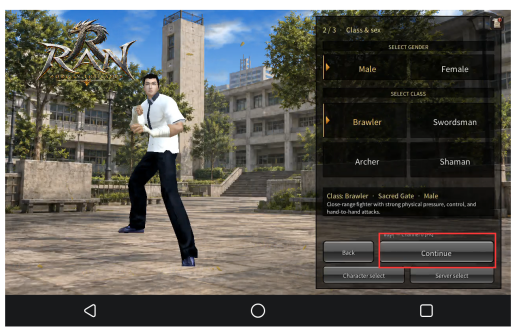
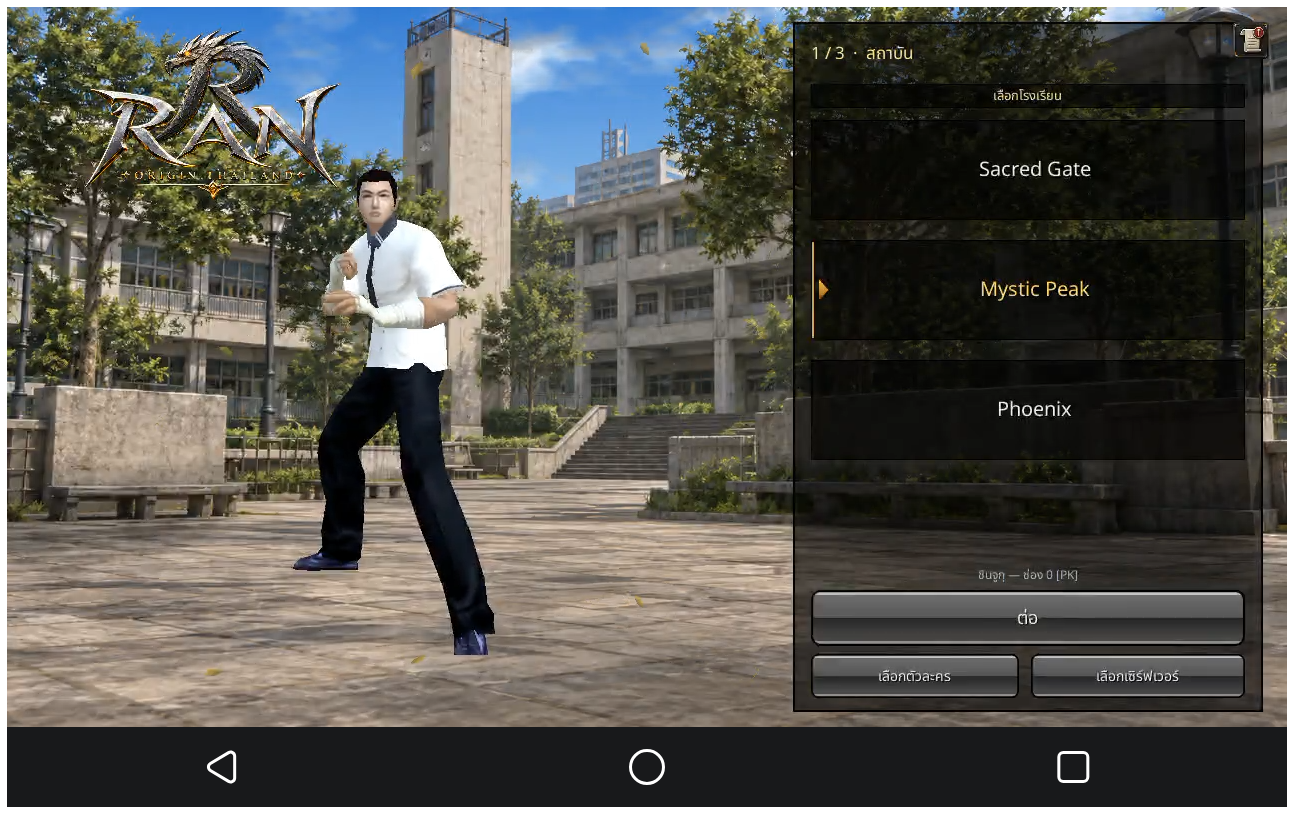 The class options are Brawler, Swordsman, Archer, and Shaman. Pick the class you want to learn and get familiar with its skills. This guide does not rank classes by combat strength or AFK returns.
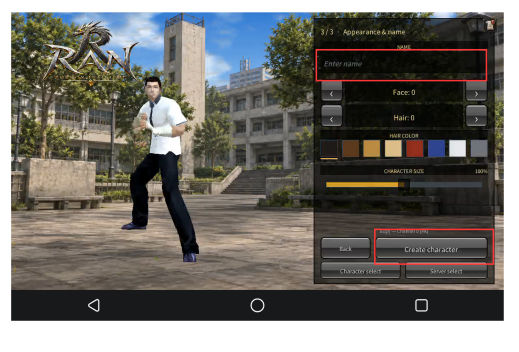
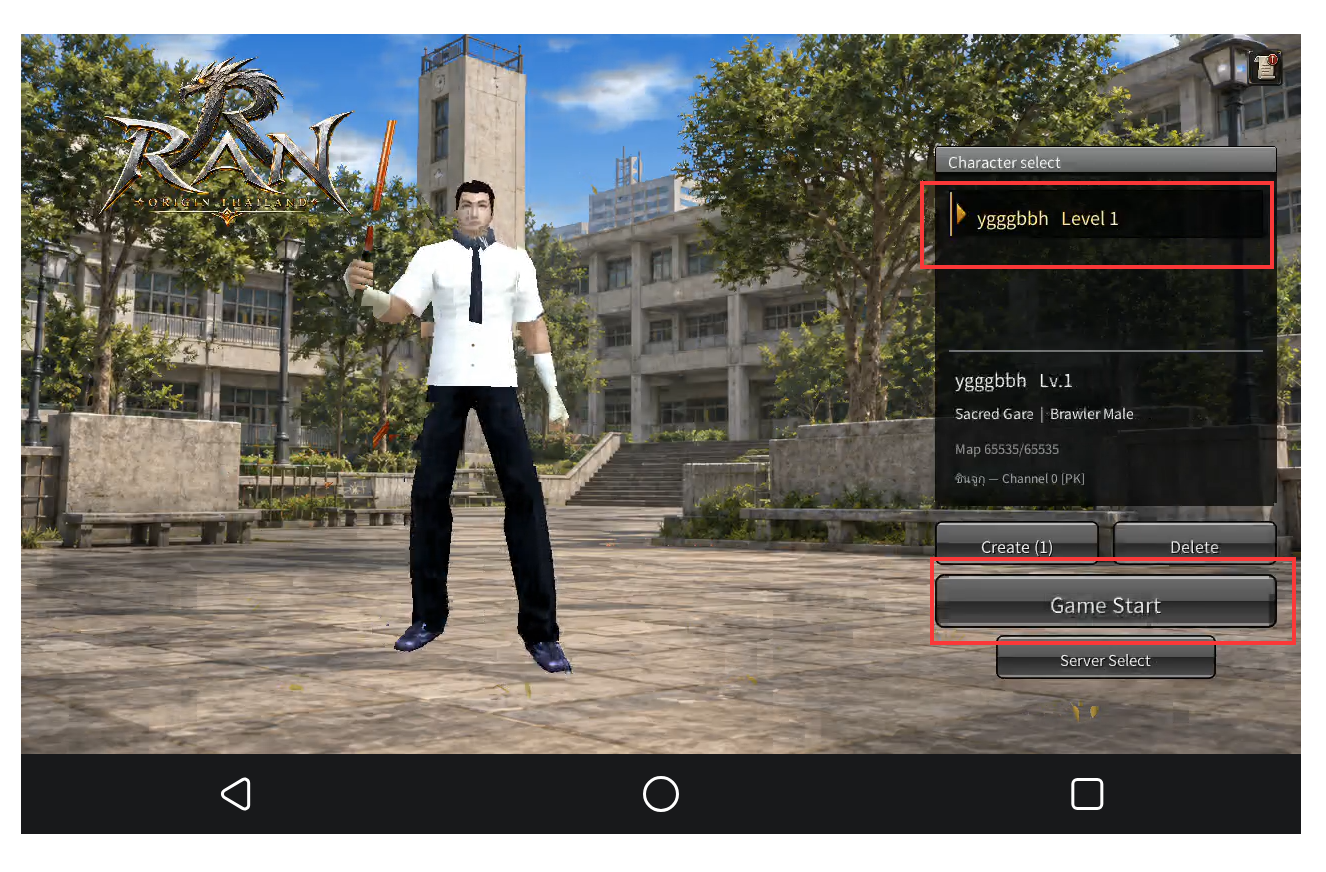
Type a character name in Enter name, confirm the appearance, and select Create character. Back on the character list, select your new character and choose Game Start. Character creation is complete once the character enters the map.
Follow your current quest when you enter the map
Read the current objective before choosing where to go. It may require a specific enemy, item, or conversation, so do not choose a hunting spot by enemy level alone. Watch the quest counter at the target location, then check whether you need to return, turn in the quest, or claim a reward manually.
Check which steps still need your input
During your first fight, watch whether the character keeps attacking and whether quest progress and inventory contents change. Even when automatic attacks work, dialogue, quest turn-ins, or reward confirmations may pause progress. Handle those prompts before stepping away.
Check the setup before running multiple accounts
Start with one character before adding another account
Install the game inside a VSPhone cloud device and use your local phone to connect and control it. Complete server selection, character creation, and an initial fight with one character first. Check that the controls and display are acceptable before deciding whether you need a second account.
With multiple accounts, check loading, movement, and combat response for each one. Lag was reported when running two instances on Basic. Opening two instances does not establish that both run smoothly. Two instances on one cloud device and one account on each of several devices are different setups; describe the actual method and follow the game’s rules.
Before trying a cloud phone, check the compatible Android version, node, and plan cost, then start with one character. To check progress later, open VSPhone and reconnect to the original cloud device. Visit the official community for help with VSPhone connections and controls.
Join the official VSPhone Discord community